Please Wait...
Brief: this plugin is working as a files manager, as it allows you to upload pictures and files through an icon that is added to the codes editor.
Firstly: MoxiManager Settings:
1-Log In to the control panel
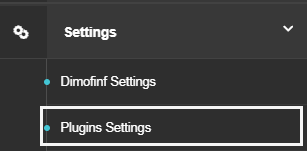
2-From the setting list, select (Plugins settings) as the below picture:
3-Alist will show up, choose (MoxiManager settings) as shown below:

The below setting options will show up:
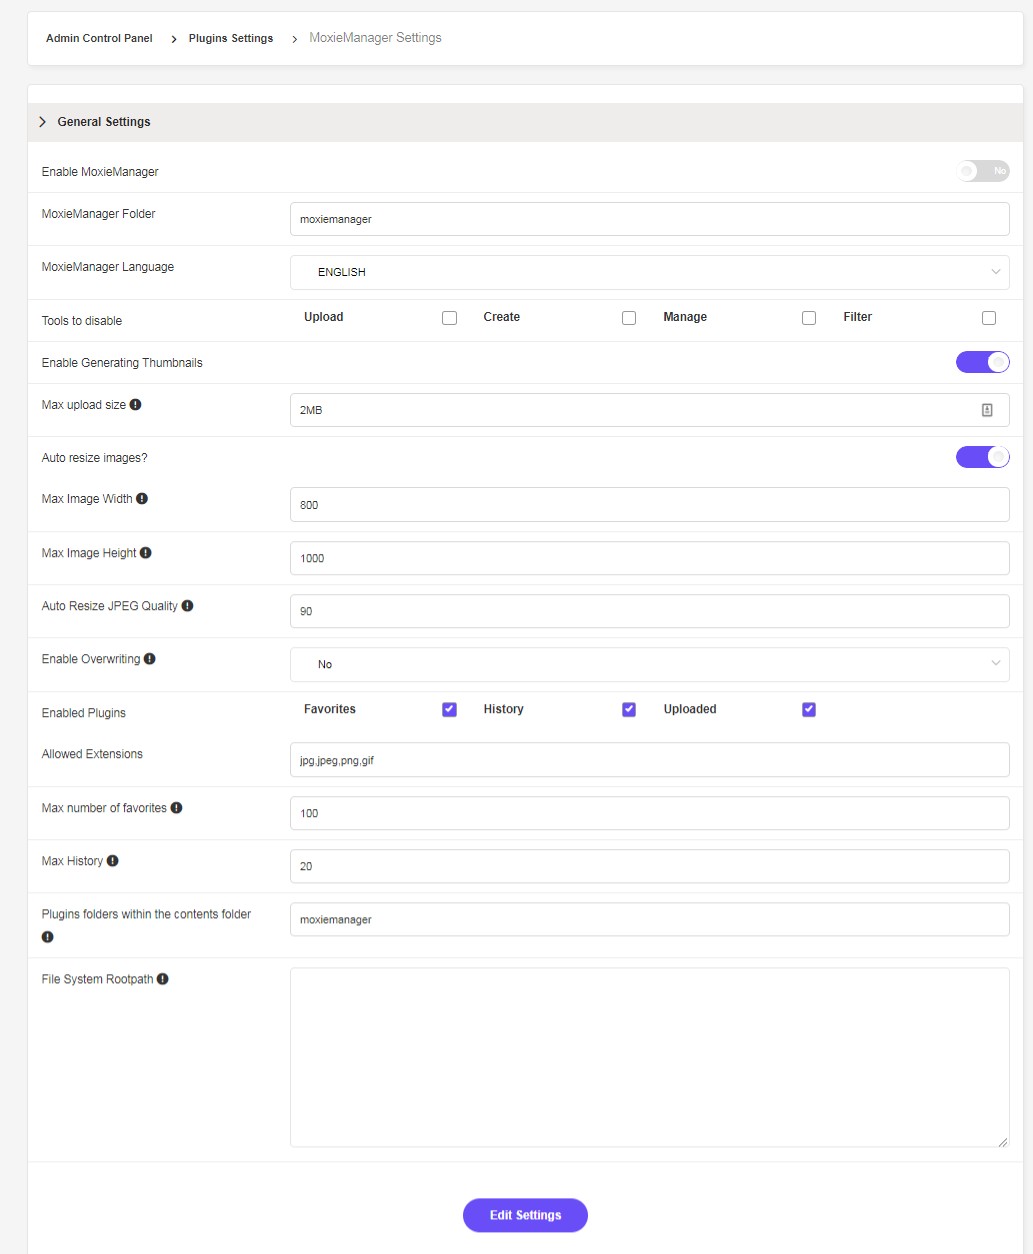
-Enable MoxieManager: to activate or deactivate the plugin.
-MoxieManager Folder: is the name of the folder existed in the server. It is entered automatically, but you can change it to any other name.
-MoxieManager Language: this plugin supports many languages including Arabic.
-Tools to disable: choose the tools you want to display.
-Enable Generating Thumbnails: if you activate this option, any uploaded picture will be resized to be smaller. This smaller sized picture will display only on the website.
-Max upload size: set the maximum size of the uploaded file.
-Auto resize images?: activate this option, so all uploaded pictures will be resized automatically to the next set dimensions.
-Max Image Width: set the maximum width of the uploaded pictures.
-Max Image Height : set the maximum height of the uploaded pictures.
-Auto Resize JPEG Quality: set the percentage of the picture quality.
-Enable Overwriting: enable this option to be able to update any previously uploaded file.
*No: you are not allowed to upload any file with the same name.
*Yes: it is allowed to upload file with the same name.
*Rename: you are asked to rename the file.
-Enabled Plugins: choose the plugins you want to show in the file manager.
-Allowed Extensions: enter the allowed extensions to be uploaded through this plugin, putting a comma after every one.
-Max number of favorites: set the maximum number of faviorts if the plugin is activated.
-Max History: set the maximum number of stored files if the plugin is enabled.
-Plugins folders within the contents folder: are the plugins folder included in a folder named “contents”, that is automatically named but you can renamed it.
-File System Rootpath: is the used path to upload files, that is automatically generated after pressing (Edit Settings).
Press (Edit Settings) to save.
To use this plugin, follow the below steps:
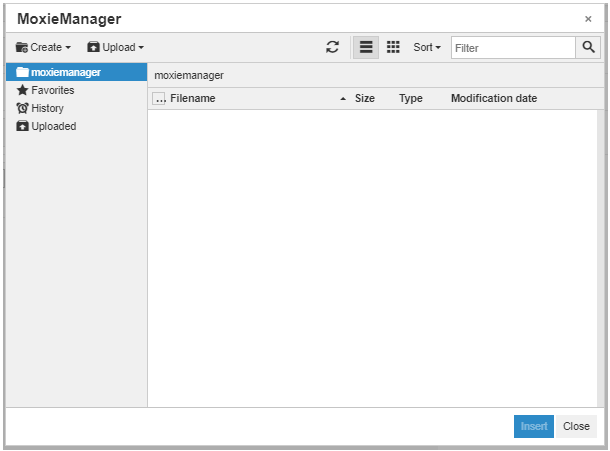
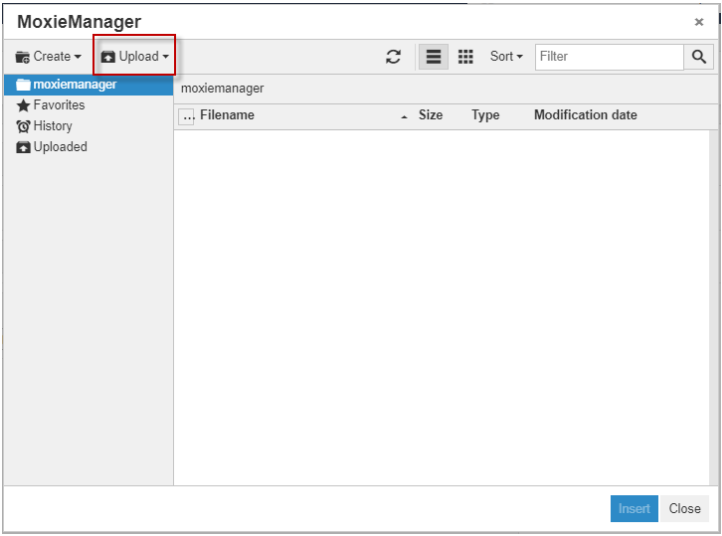
Press the plugin icon to upload and manage files.
The below window will show up:
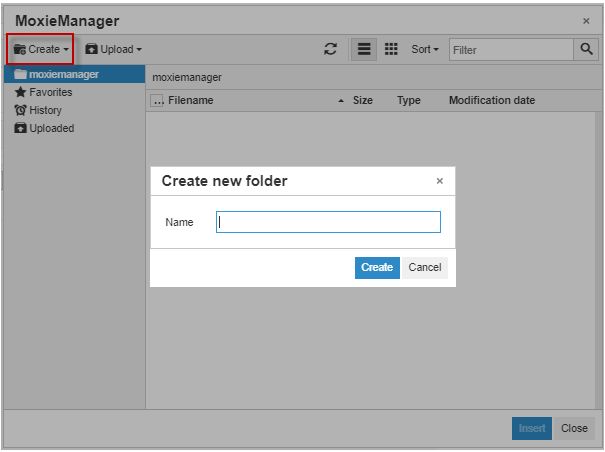
Click (Create) for a new folder and enter its name:
Press (Upload)> a window includes the allowed uploaded files show up> drag the files and press (Add)> then press (upload) as below:
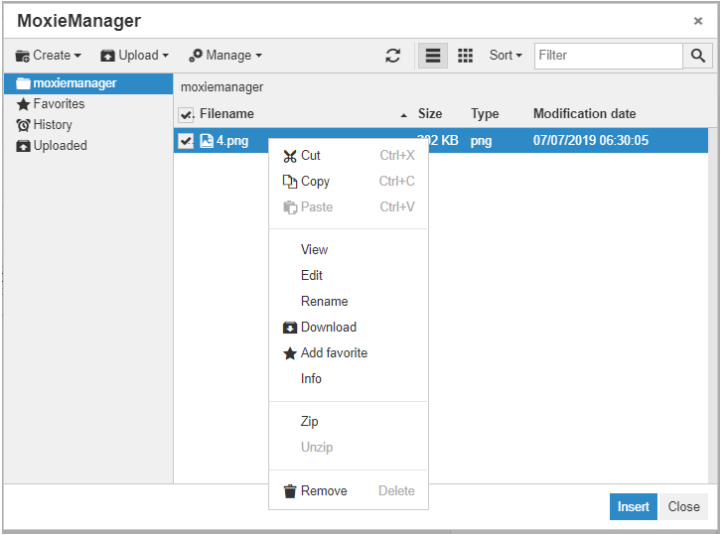
Click right on any file, and you can all related actions.