Please Wait...
Zoho is one of the largest email services providers, such as domain.live.com, google apps, and more; but what distinguishes it is that providing free 10 email accounts with a lot of email complementary properties, and supporting mobile applications and desktop programs.
1- Press the button (Sign up) for registration.
2- Fill in the fields with your data until a message is sent to your email, press the verification link inside it.
3- Follow verification steps by downloading (verifyzoho.html) file, then go to FTP Accounts or File Manager in cPanel to create a folder with the name (zohoverify) and upload the file you have downloaded to this folder, then press the button (Verify).
4- And so you have successfully verified your website on Zoho, let’s add your email accounts.
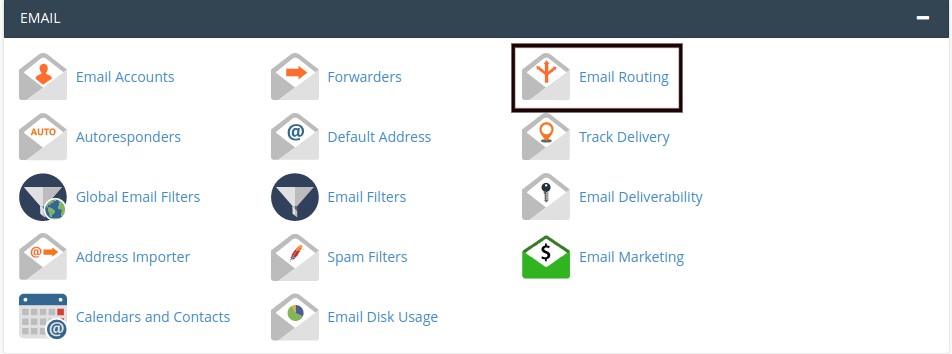
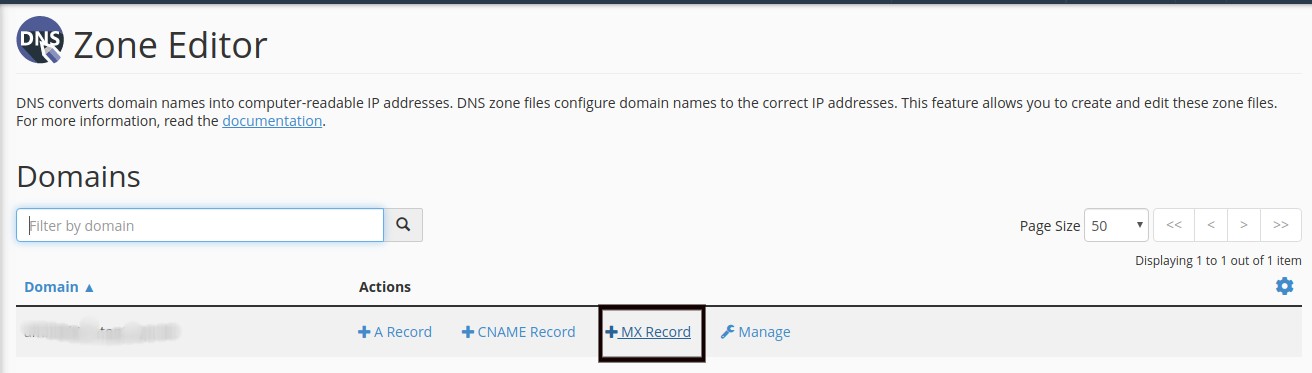
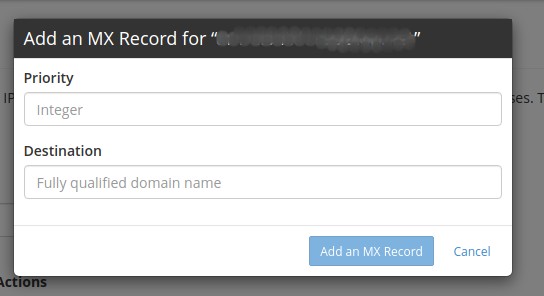
5- To direct your email to Zoho servers, login in to your cPanel and choose MX options to be set, as shown in the following picture: