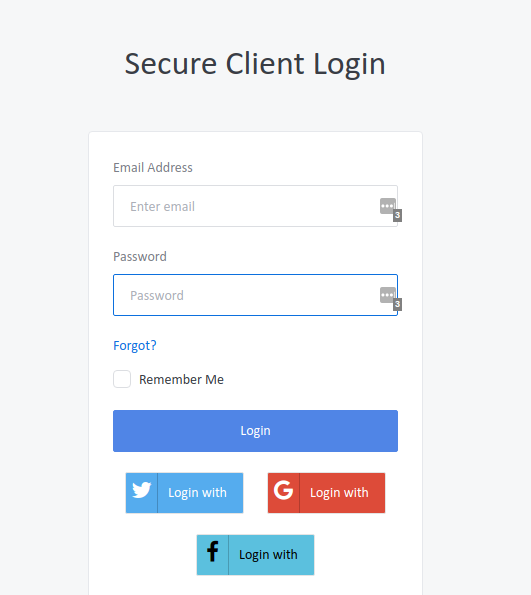
• Login to your Control Panel in Dimofinf website with your email and password.

nCvyQcyrUKSdSXubllJK-YWbyJhQww7so8X0lS39vHng6xL3nvO9jzYNTm3Xt78DVwUmK6siBnn2GDwzkV38rtup8n1x27dAmFEHMj29SPqgfxDbIPJBpoFWSVBEa6cobVFifwqC

  • A new menu will be displayed, choose (Services).

dBPSIaGLQR2ZwhcStveYiD0qpSDmXN3af85C9UqhULlkUF6sbVwrTVr1-5nZIBNnAPYRBdkRhaYSgLahNc3LUpvauFgNvbapKx759FcTq1rpqcikACyCdGtv9sTJ3XHh6HTMHs5q

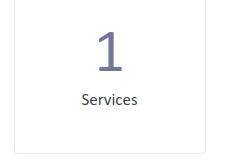
  • A list of your services will be displayed on the page, press the service name you want to control.

xrCxBlVVXulmXqcKOh0Q7_kwOyeOJrPQGvUzBkc4kKm4ypzEMY0Nabcna3JBjIImrL91GKs9NYUr_fTTCulju7eZgaAXu5CV5qwtMxCq_SkTNZSAKnniyGKYBZyJbhjR0d7kDkI3

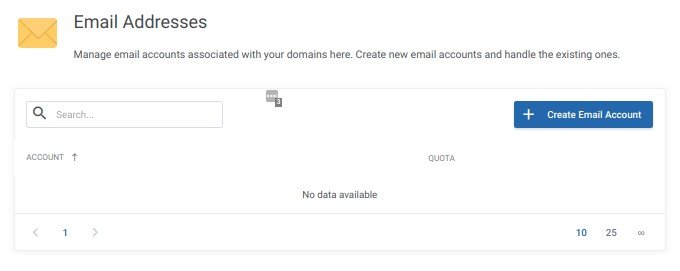
  • A menu with the name (Manage Account) will be displayed, press the button (Email Addresses), as shown in the following picture:

y8X5eu0u8SQcKA_UEM676EhcdaHOvtDh475VIsTii0cDHEsoEzynJ_bcaOppd6-B5TDcGH1YbkaLbQNs4TgiRgFTywYOdDn6uyPDKMUYYa9x1de1uSjMPvXcSsPPAA7tpbmh8crQ

  • Press the button (Create Email Account) as shown below:

KqntX9EDPYt-EUT5zSEABuGNDSD3vZHpt4CHqiV2dJVDRo5LGj4d0m0HnhKVpZemWeGHBwClftrr7KTiED1zySejPqBsWPOO5hTassurmaEUSauZm_8RTxPPD9PEq4e4V2QF9f33

  • Fill in the fields with your data then press the button (Create), as shown in the following picture:


BBAZSTk9Af4vD4-8fiqZtTLemVuHXz0iKIvPk9y0R1myZISPUTT-OEVxGC_4OGYcsGGX0Jo8UAbCiOjAK6rPoj0NbECefUzzOONMSobheh58O_0eoc_om9XBNV6g7rW754Fv5nBh

Was this answer helpful? 15 Users Found This Useful (28 Votes)